Category Archives: Uncategorized

Growerbot At Fab10

I had the great pleasure of joining many other makers in Barcelona for Fab 10 earlier this month: Growerbot was a finalist in the Sensors for Global Development! You can get plenty of inspiration for your next dozen projects on the Global Fab Awards page; be sure to click on ‘source files’ for schematics, dxf’s, BOMs, and more! And thanks to the sponsors for helping us get there. USAID has an excellent post on the importance of makers working to build a better world here.

SMT Zoomed

Here’s a super-quick, zoomed-in video of the SMT on growerbot 1.5, hopefully helpful for the brave testers DIYing smt:

Pause to see more detail, and please don’t make too much fun of my soldering skills:)

Testers Wanted!

I’m nearing release on an exciting new version of growerbot, and I’d love to get samples into some plant hackers’ hands. Please email me if:

1. You are comfortable performing surface-mount soldering with *tiny* components.
2. You’re able to commit to sharing the results of your build within a month of me sending you a unit.
3. You have at least one existing plant on which you will use your new growerbot.

IMG_20140429_131316

The new units are going to be solar-powered, with wifi and eventually BLE connectivity. And, get ready to control your irrigation system too!

Thanks,
Luke

Wiring The LCD

By far the most error-prone (and poorly designed by me!) element of the growerbot v1 kit is the LCD. Here’s how the pin mapping works:

LCD1 -> D5
LCD2 -> D6
LCD3 -> D7
LCD4 -> D8
LCD5 -> D9
LCD6 -> D10
LCD7 -> GND
LCD8 -> 5V

Pin 1 is the farthest to the left if you are looking at the side of the LCD breakout such that the silkscreen is readable.

And, here’s the datasheet for the LCD used:http://www.lumex.com/specs/LCM-S01602DTR%20M.pdf .

Here are photos of the connections. Note that pins 15 and 16 on the lcd are not connected:

If you have any issues with yours, please let me know and I’ll send you a free replacement!

Growerbot Kit Assembly Guide

Here are annotated images of the circuit boards to help with assembly. Click on them to get to a giganto version.

Main board:

impzoomlabeled


R2 is 10k, R7 is 1k, and all other resistors are 10k.
C4 and C6 are .1 uF, and all other capacitors are 10uF.

Soil probe:

probezoomlabeled

The capacitor is .1 uF, and all resistors are 10k.

Encoder: R1 is 10k.

Please comment with any other questions on getting started with assembly; thanks for your patience!


Getting Started With Growerbot Plus

This guide will help you your growerbot plus up and running.

1. Plug growerbot in
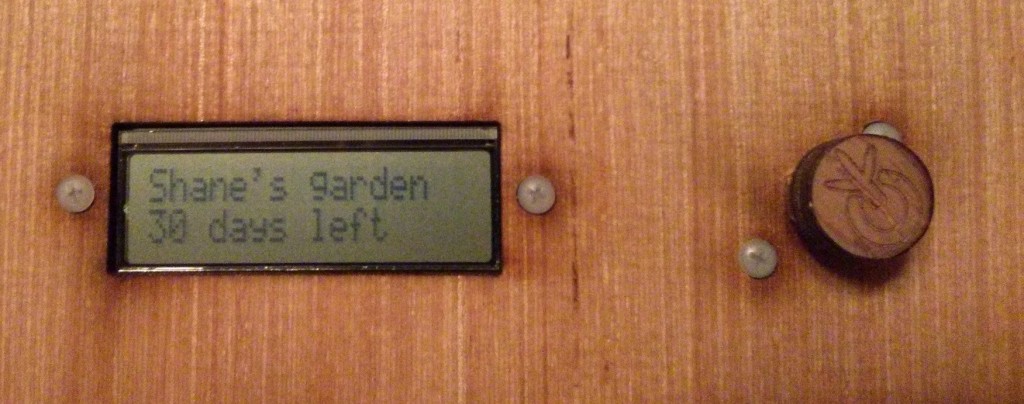
Plug your growerbot in to a 120-volt socket (GFCI for most safety) and make sure it says hello. You should see something like this:
h1

2. Test sensors & controls
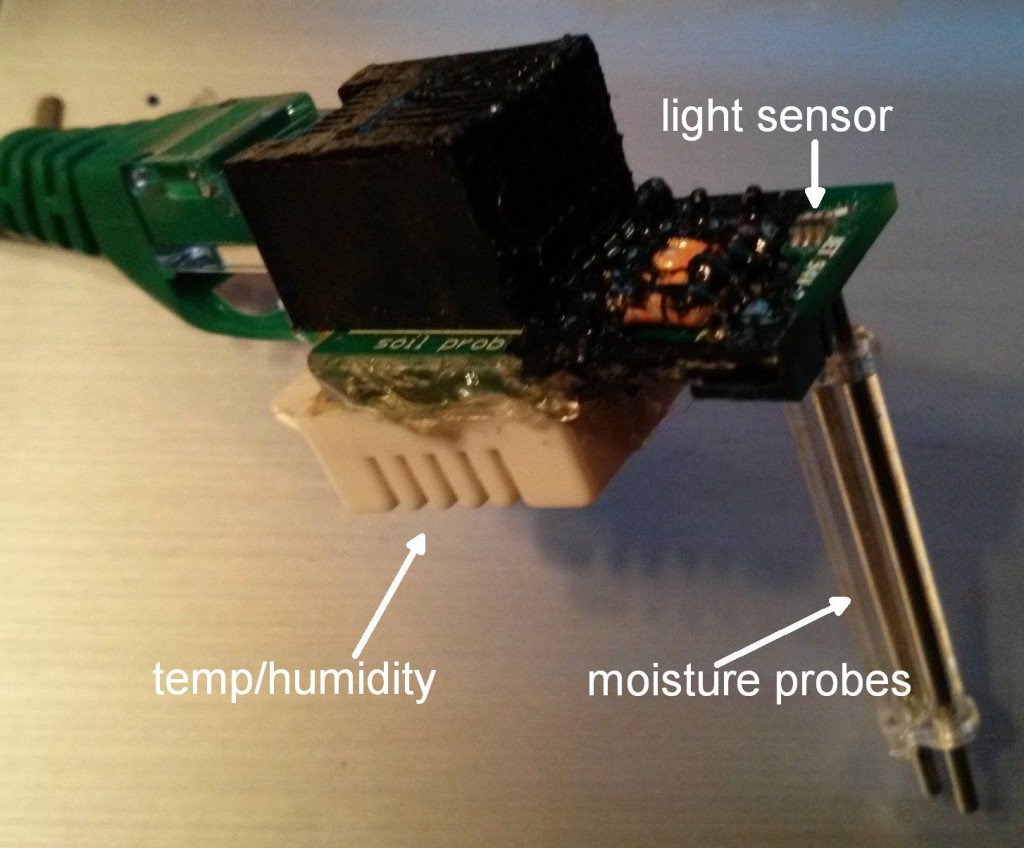
Turn the ‘power seed’ left, right, and push to explore growerbot’s different modes. check that light reading changes when you shine a flashlight on the sensor or cover it with your hand, stick the moisture probes in water to get a different reading, and breathe on the sensor to change moisture and temperature readings.
probe

3. Control your lights and water
Plug the pump you’d like to control into the AC outlet with a water drop engraved above it, and plug your light into the outlet with a sun.
Note: there seems to be an issue with larger pumps and lights on some growerbots, where they lock on and/or reset. I’m trying to identify the root cause; in the meantime, please only use smaller pumps and lights.

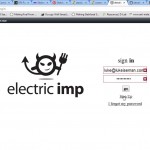
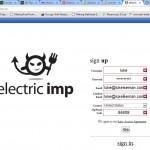
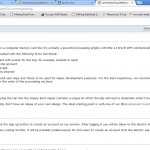
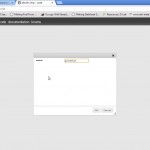
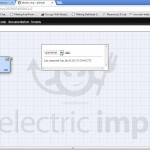
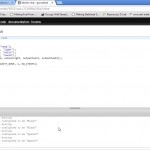
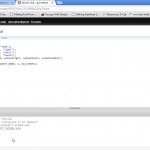
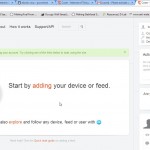
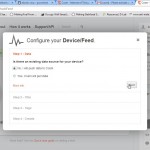
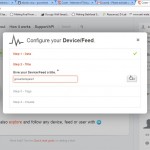
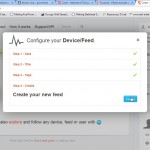
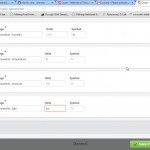
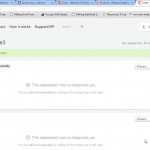
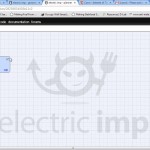
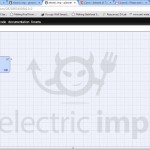
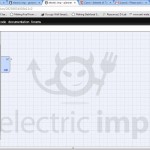
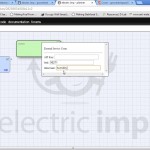
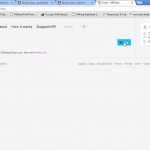
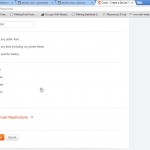
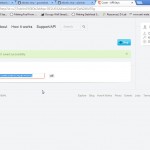
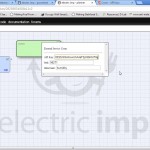
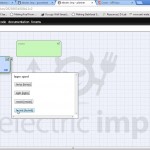
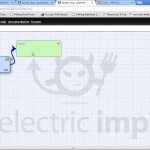
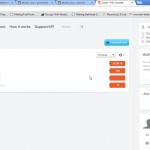
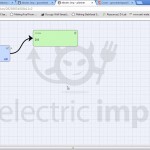
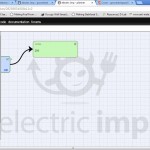
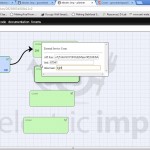
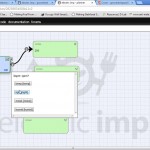
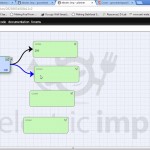
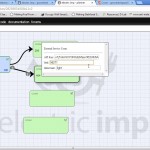
4. Setup data sharing
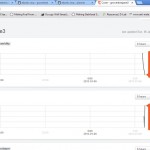
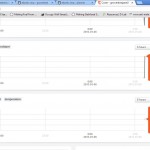
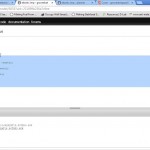
Data is shared via wifi by Electric Imp. To use this data, you need to commission an imp, as detailed here . The source code for growerbot is on github here. The following photo stream shows the basics of getting the imp commissioned and feeding the moisture level, temperature, humidity, and light data to cosm (more detail later):

Please share links with me and everybody else for your growerbot data: learning from each other is the biggest part of what’s going to make growerbot interesting.

5. Innovate!
If we’re going to grow more food with less work, growerbot needs to be barely the start of a much bigger social gardening movement. I need your help to improve on the design, experiment with different lighting / moisture / soil setups, and overall improve how we grow food!

Please comment here with any other questions. Assembly guide for kit version(s) and more detail coming soon.

PCB Cost Comparison

I’ve made a few changes to the PCB, and I’m ready to order first production run of 100. But, from where? Here’s my cost comparison on several different vendors I sent this incomplete-but-correctly-sized set of gerber files:

I’m going to go with jetpcb: they’ve been quite responsive, and their quote includes full electrical testing as well as scoring of the different PCBs for easy separation. Total price is $464 for 100 sets of boards (2 relay breakouts, 1 main growerbot board, 1 lcd board, and 1 encoder breakout); our boards should be here by the end of next week!

From there, I’ve got the following left to do:

  • Attach surface mount components
  • Finish enclosure design
  • Complete software development, testing

Hopefully this saves some of you time on your own electronics projects. Any competitive vendors I missed?

We’re not there, but we’re getting quite close!

Exciting Blinking

These 2 photos may look quite boring, but they contain some exciting news:

That’s the growerbot running the Blink arduino example. I uploaded the code on an Arduino Uno, placed the ATMEGA328 in the growerbot, and we were good to go. Of course, there were some ‘green wire’ fixes:

This is exciting because it confirms that we’ve got basic Arduino functionality occurring on the standalone growerbot. Much more testing over the next week (probes, electric imp, etc.), and then I should be ready to order the first production run.

Here are some more photos of the boards:

When it’s ready, I’ll publish the gerber files for everybody to play with. Thanks for your patience!

Test PCBs

Have arrived!

Here’s what they look like:

And here’s a close-up with some components inserted:

I’ll get everything attached and run some other testing this week. If all goes well, I’ll order a bulk run to fill all the Kickstarter orders. We’re getting close!