This guide will help you your growerbot plus up and running.
1. Plug growerbot in
Plug your growerbot in to a 120-volt socket (GFCI for most safety) and make sure it says hello. You should see something like this:

2. Test sensors & controls
Turn the ‘power seed’ left, right, and push to explore growerbot’s different modes. check that light reading changes when you shine a flashlight on the sensor or cover it with your hand, stick the moisture probes in water to get a different reading, and breathe on the sensor to change moisture and temperature readings.

3. Control your lights and water
Plug the pump you’d like to control into the AC outlet with a water drop engraved above it, and plug your light into the outlet with a sun.
Note: there seems to be an issue with larger pumps and lights on some growerbots, where they lock on and/or reset. I’m trying to identify the root cause; in the meantime, please only use smaller pumps and lights.
4. Setup data sharing
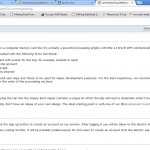
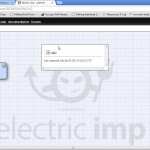
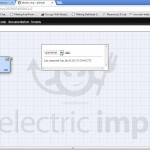
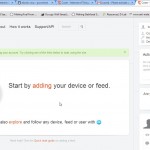
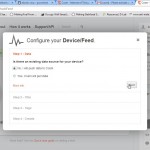
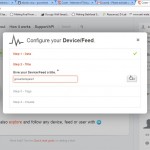
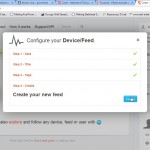
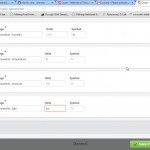
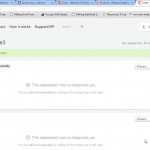
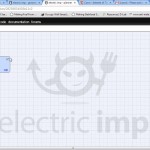
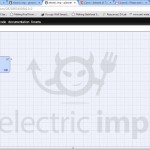
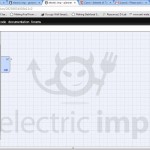
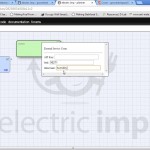
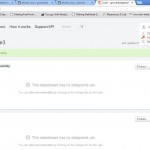
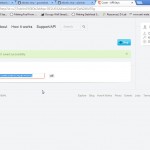
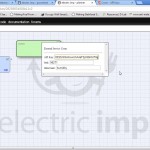
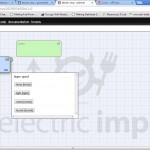
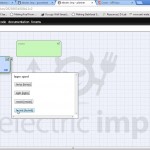
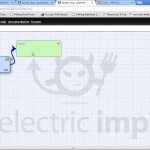
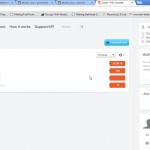
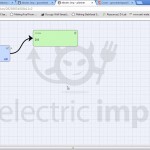
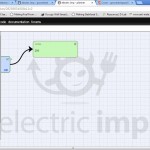
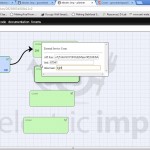
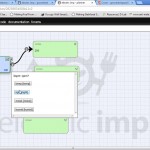
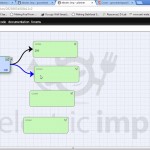
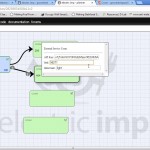
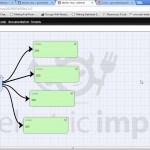
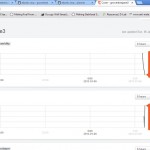
Data is shared via wifi by Electric Imp. To use this data, you need to commission an imp, as detailed here . The source code for growerbot is on github here. The following photo stream shows the basics of getting the imp commissioned and feeding the moisture level, temperature, humidity, and light data to cosm (more detail later):
Please share links with me and everybody else for your growerbot data: learning from each other is the biggest part of what’s going to make growerbot interesting.
5. Innovate!
If we’re going to grow more food with less work, growerbot needs to be barely the start of a much bigger social gardening movement. I need your help to improve on the design, experiment with different lighting / moisture / soil setups, and overall improve how we grow food!
Please comment here with any other questions. Assembly guide for kit version(s) and more detail coming soon.


